Is your cigar collection getting too big? Do you need a place to store and organize your cigars? This article will answer the most common questions about cigar coolidors, including how to make them and what temperature they should be kept at. Read on for all of this information on how to make a cigar coolidor!
Beginnings: What Is a Cigar Coolidor?
A coolidor is like an oversized humidor, but instead of using heat or electricity to control the humidity levels inside.

Seth Lee
Cigar Expert
Pro Tip: Don't forget that a cooler with needed parts can cost up to 2-3 times more than a ready-to-use cigar cooler humidor. The choice is up to you.
But!
I have a surprise and you do not want to miss it!
There are two great options for making your coolidor:
The simple coolidor
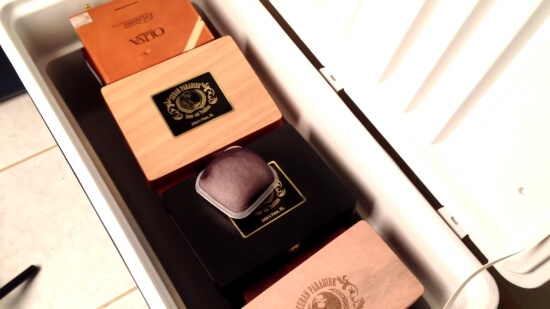
Step 1
Buy a cooler like Igloo Yukon.
Step 2
Wash it.
Step 3
Clean it.
Step 4
Dry it.
Step 5
Add cigars in boxes or desktop humidors.
Step 6
Add humidity beads. Also, add a hygrometer.
Step 7
Enjoy!
If you want a beautiful functional coolidor for your home and do not want to make your own, so I recommend my guide about cooler humidors.
Also, check my guide on how to build a wooden humidor.
The true DIY project of coolidor
GETTING STARTED: The Parts of a Coolidor
There are six basic parts to every coolidor: the lid, the body, the insulation, the liner, the humidity control, and the cooling unit.
- The LID is usually made out of wood and has a gasket to ensure an airtight seal.
- INSULATION is the second part of a coolidor and it does just that: insulate your cigars from the cold temperatures keeping them at their ideal humidity level. You can choose between several different types of insulation, but polyurethane foam works well for this purpose as long as the foam is not compressed.
- The BODY can be made out of a variety of materials, but it must be airtight and watertight. The most common material for the body is metal or plastic, which will not only keep your cigars at the right humidity level but will also protect them from any external elements like moisture or pests.
- LINER is used to line the interior of your coolidor. This liner will prevent any damage caused by condensation, which can affect your cigars. There are many different types of liners that cigar aficionados use, but cedarwood works best for keeping humidity levels steady and protecting your cigars from mold or mildew growth.
- HUMIDITY CONTROL is the next part of a coolidor and it’s what keeps your cigars at the right humidity level. You have two different options when it comes to humidity control: passive or active. A passive humidifier requires no power, whereas an active humidifier does require electricity.
- COOLING UNIT is the last part of a coolidor and it’s what keeps your cigars at the right temperature. The most common type of cooling unit is an icebox, which can be easily converted into a coolidor.
- Also, you need a cooling system, power supply, and temperature controller. Just read and you will understand why!
Once you have all of these parts, you’re ready to start building your cigar cooler!
How To Convert A Cooler Into A Cigar Coolidor: Step-by-Step Guide
Here are the instructions for converting a regular cooler into an enormous cigar humidor. Keep in mind that these instructions will not work if you want to use your coolidor as a walk-in humidor (it’s only meant to be used as storage). You can also modify this plan and create multiple shelves or doors instead of just one, but keep reading below for more information on how to set up your ideal temperature and humidity levels.
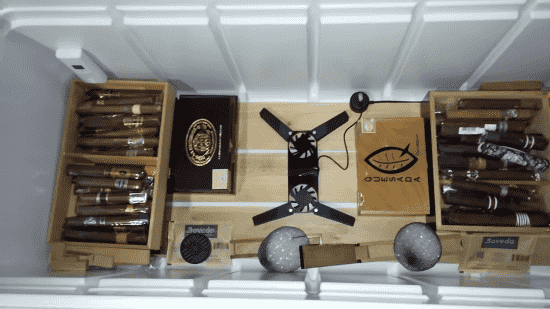
STEP 1: Choose Your Cooler
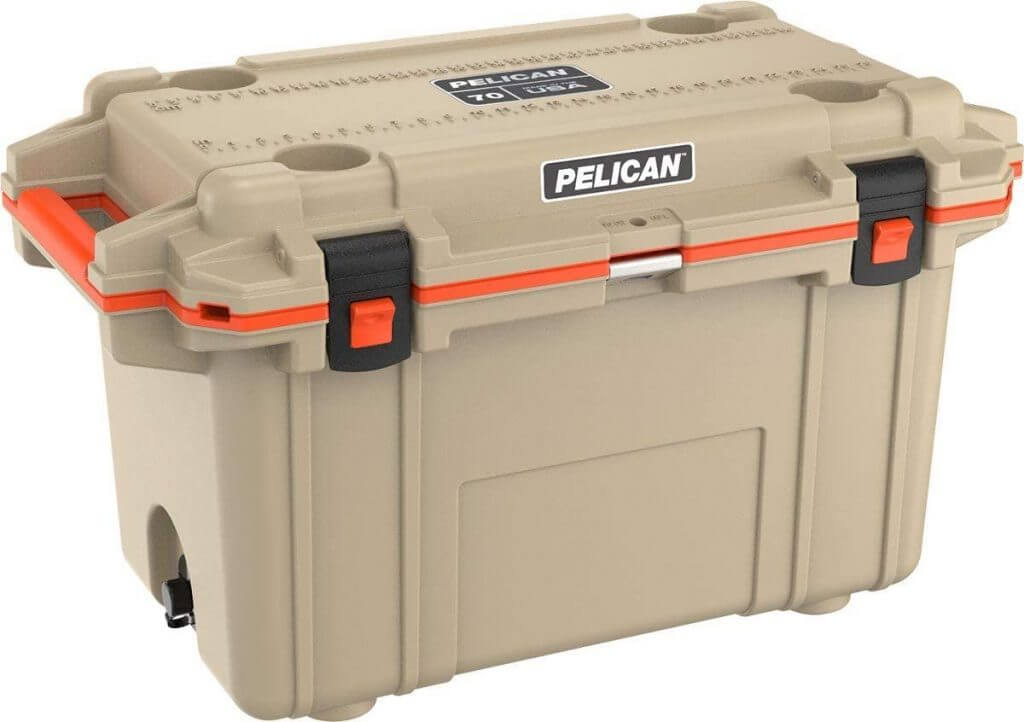
Many different types of coolers work well with this conversion process, including Igloo brand models like the Pelican 70 Quart Elite Cooler, the Coleman Xtreme 50 Qt, and the Rubbermaid Cleverstore Stackable Container 95qt.
STEP 2: Remove All of the Internal Parts
Once you have your cooler, you’ll need to remove all of the internal parts. This includes everything from the lid to the body to the insulation.
STEP 3: Measure and Cut Your Cedar Liner
The cedar liner is what will protect your cigars from any damage caused by condensation. You’ll need to measure the interior dimensions of your cooler and then cut your cedar wood accordingly. It’s best to use a fine-of saw or jigsaw when cutting your cedar liner, and then use wood glue to attach it to the interior of your cooler.
STEP 4: Install the Humidity Control
There are two different types of humidity controls that you can use in your coolidor: passive or active. A passive humidifier is a small container made out of plastic or ceramic that contains a sponge or clay disc. This type of humidifier needs no power and will work by absorbing moisture from the air. An active humidifier is usually an electronic device that uses a hygrometer to measure the relative humidity levels inside your coolidor and then adjust them accordingly.
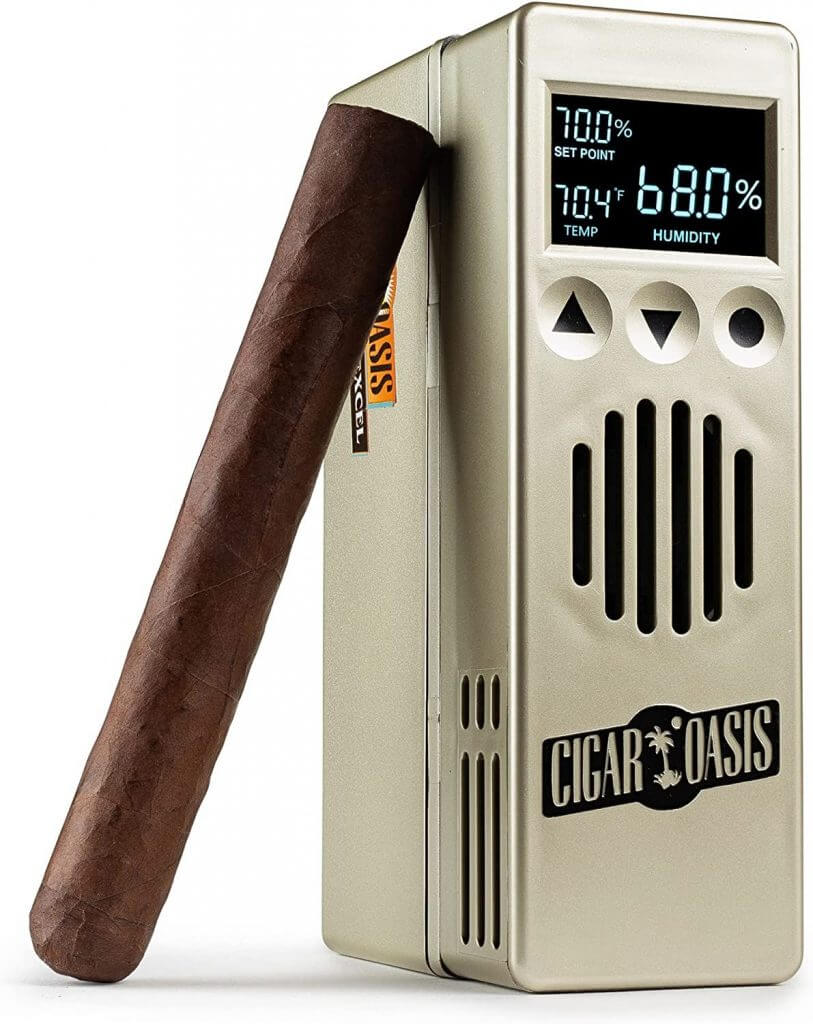
Once you’ve chosen your humidity control, install it in the upper right-hand corner of the body (assuming that your cooler is facing upright). If you’re using a passive humidifier, make sure to wet the sponge or disc before installing it.
Also, you can use Boveda Packs for easy maintenance.
STEP 5: Install the Cooling Unit
The cooling unit can be installed in either the upper left-hand corner or the lower right-hand corner of the body (again, assuming that your cooler is facing upright).
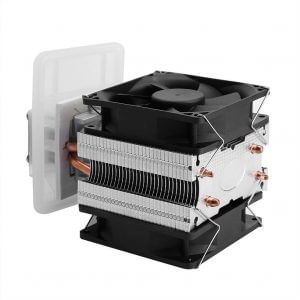
If you’re using an icebox as your cooling unit, it’s best to install it in the lower right-hand corner so that the cold air will fall and keep your cigars at a consistent temperature.
STEP 6: Add Power Supply for Cooling Unit
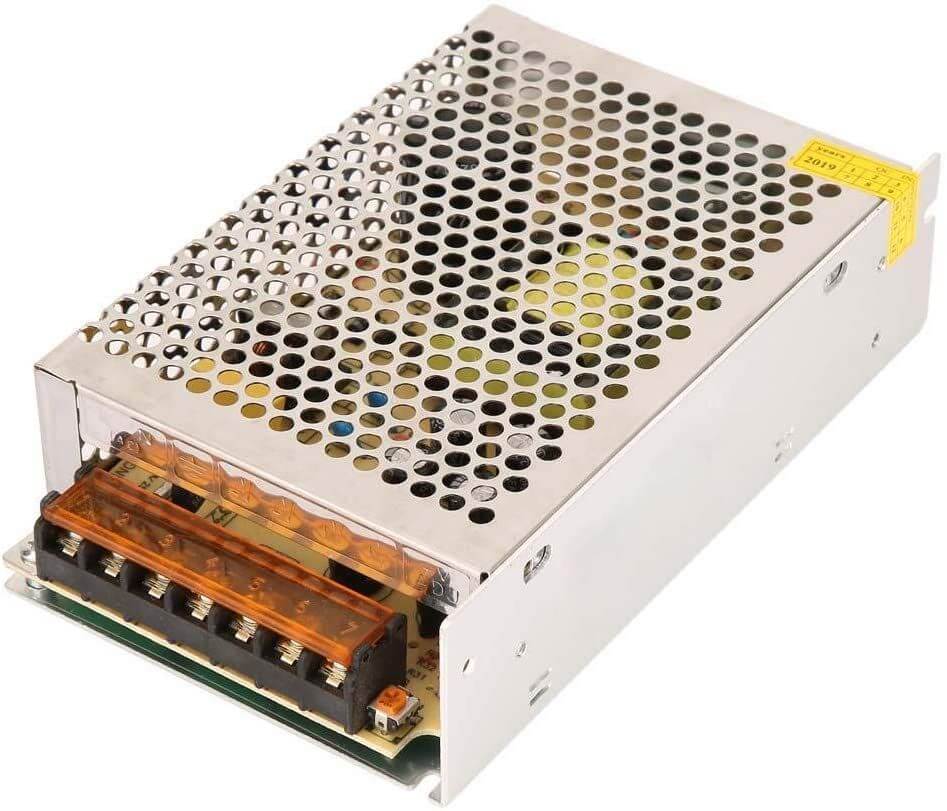
I recommend this Module (12V 10A), the instruction you can find in the description of this Peltier Cooler.
STEP 7: Make Auto Regulation of Temperature
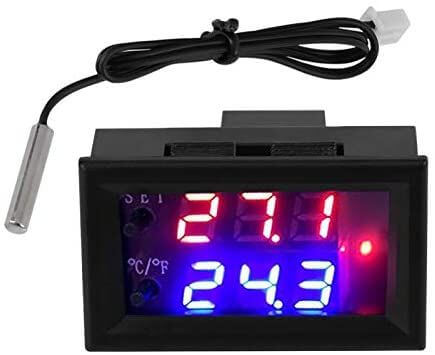
You will need to add Microcomputer Thermostat Temperature Controller for easy regulation of temperature.
STEP 8: Assemble Your Coolidor
Now that all of your parts are installed, it’s time to put everything together! Start by attaching the lid to the body of your cooler. Then, install the hinges on the left-hand side (if you’re using a right-handed cooler) or the right-hand side (if you’re using a left-handed cooler). Finally, screw in the handles on either end.
Your coolidor is now ready for use!
*STEP 9: Add cigar trays
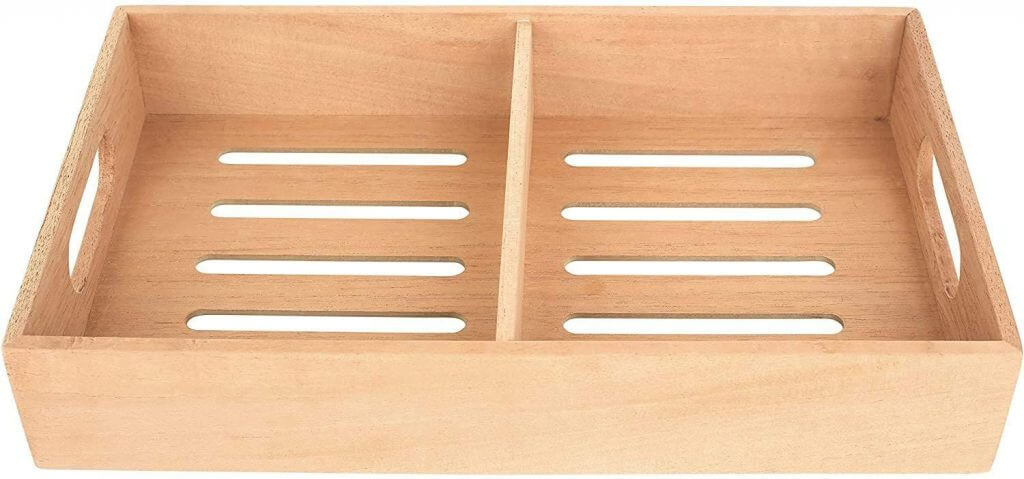
You can do it or not but I want to recommend these trays from Mantello. Great cedar wood and low price.
How to set up the ideal temperature and humidity levels in your coolidor
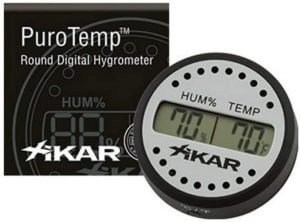
The ideal temperature and humidity levels for storing cigars will vary depending on where you live. However, here are some general guidelines that you can follow:
TEMPERATURE: The ideal range is between 65 and 70 degrees Fahrenheit. Anything below 60 degrees can cause your cigars to dry out while anything above 70 degrees can cause your cigars to develop mold.
HUMIDITY: The ideal humidity level for storing cigars is between 65 and 72 percent relative humidity (RH). Any lower than that, and you run the risk of exposing your cigars to too much oxygen which will cause them to lose their flavor over time. Any higher than that, and you increase the chance of having a humidor that’s too wet which increases the likelihood of developing mold on your cigars.
STEP 10: Enjoy Your New Cigar Coolidor!
Now it’s finally time to sit back with a cigar in one hand and an adult beverage in the other as you bask in all of your newfound cigar storage glory! Congratulations on making and setting up your very own cigar coolidor!
Verdict on How to make a cigar coolidor
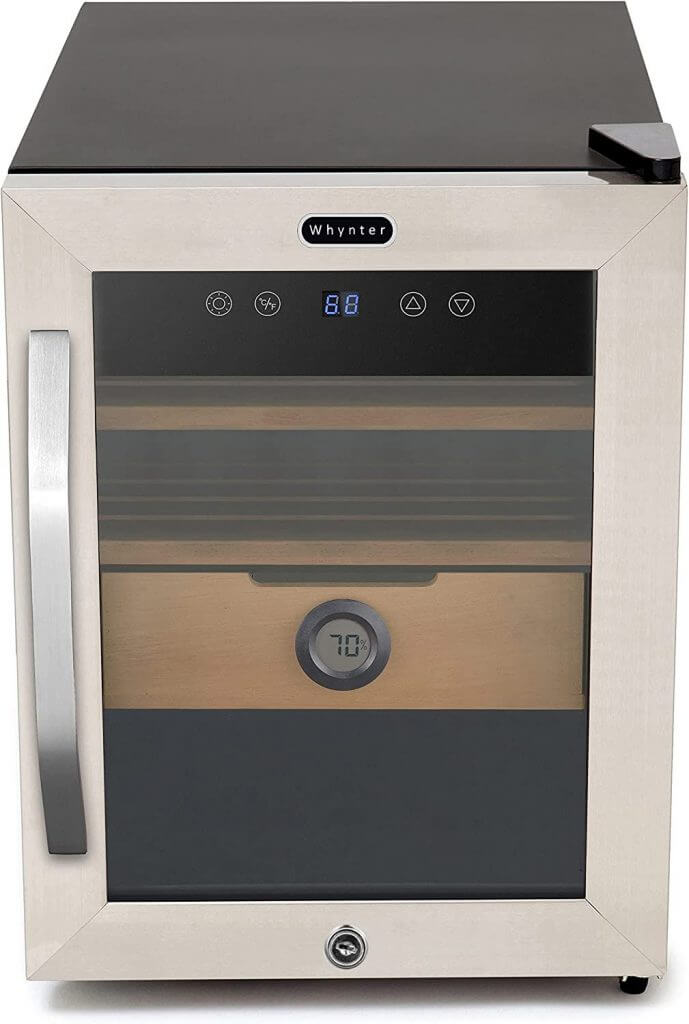
If you have some skills in electronics and time to install these products together, this guide is totally for you! If you want the ready-to-go product, so welcome to my article Best cigar cooler humidors for any budget. Good luck!


